
I see that I ended my last entry in this saga, on 24 August, by writing 'I trust that by tomorrow evening I will have much more to show'.
I think I did but, plainly, I didn't show it.
And here it is now 9 September, and still I have revealed no more.
Well, the fact is that 'the item' is completed, delivered and starting its life with its new owners and in its intended surroundings!
By August 24 I had reached that moment when I needed to complete the task. - I was under no pressure from my clients but I'm afraid I am a crisis worker: it's my nature so, if there isn't pressure, I need to create it to get the adrenalin flowing!
I will leave it to your imagination as to what the 'pressure' was in this case!
So, on 25 August I got 'stuck in' and neither my work schedule nor my mindset allowed for any gaps or spaces for blogging my efforts and the progress, nor foranything else for that matter.
I worked through the weekend of 28 / 29 August and on the Saturday informed my clients that I would deliver on Tuesday morning, 31 August, to further spur myself on.
But, while I enjoyed every moment of the work, and progress was consistent and good, I decided on the Sunday that I needed one more day and informed my clients accordingly on the Monday morning.
The delivery was made on Wednesday 1 September.
Although during this last phase I was in no mood to blog, I did keep something of a pictorial record as I went, so I can now show aspects of the final stages of the project.
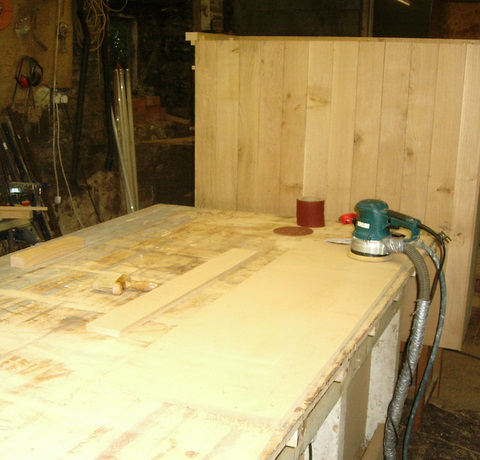
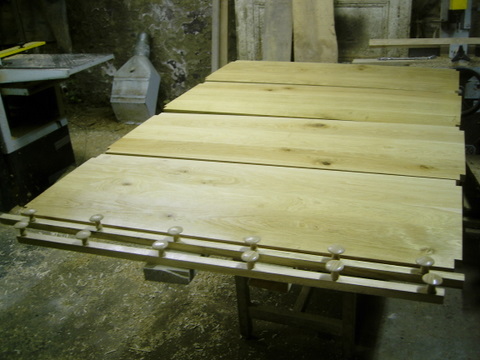
The workbench is cleared in readiness for sanding all the components shown in the last post, prior to assembly and finishing (lacquering, varnishing or polishing).
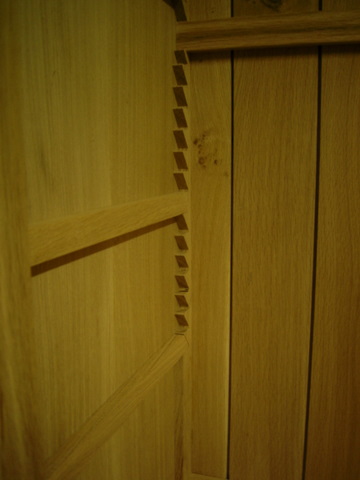
So, first, I sanded the interior of the upper. cupboard unit before sanding and fitting the traditional, oak shelf supports.
(Incidentally I decided to leave the interior of the cupboard, as well as the insides of the drawers, raw (unpolished), in the traditional manner.)
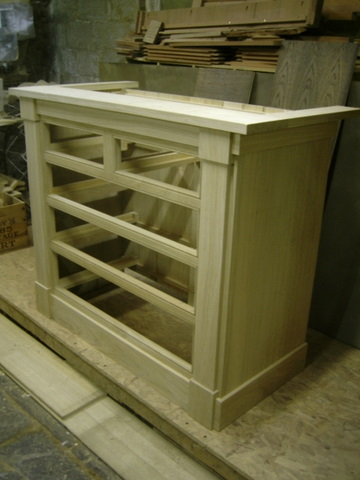
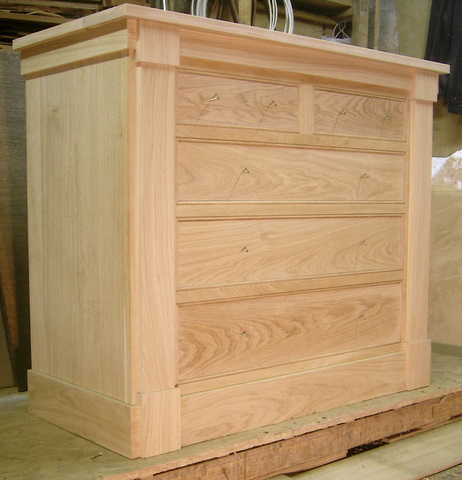
My next task was to sand and fit the heel-blocks, pilasters, skirting and frieze in the configuration agreed after the client's visit.
(Note how all the margins between these various elements have been refined from the 'mock-up' I did to help them come to a decision.)
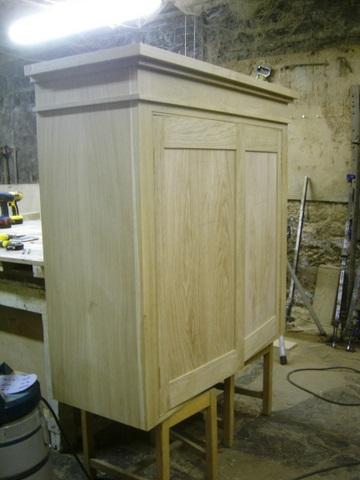
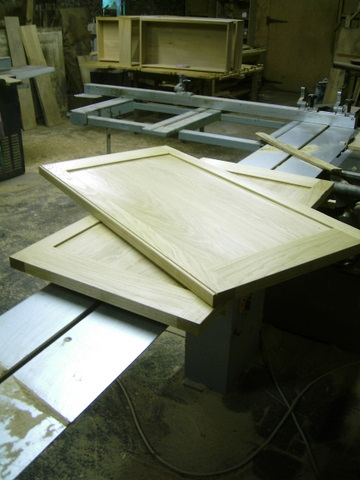
I hung the doors but, at this stage, they had not yet been brought to width.....
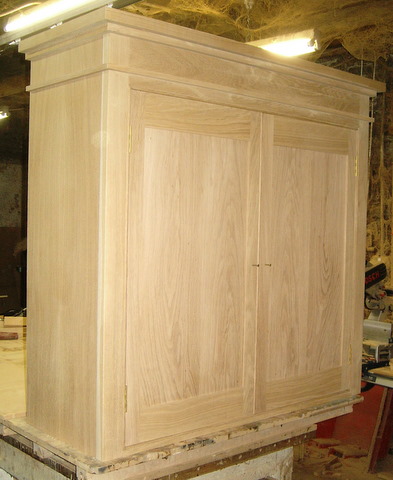

......and here they are fully fitted with good margins. (the spaces between the doors and the frame of the cabinet and the gap between the two doors)
This image shows the matching of the panels.
(The match is good but not quite as good as I had hoped.
As I showed in the second entry on this project, on 27 July, the panels are made from adjacent boards from the tree from which they were cut. In other words, when I bought them only the thickness of the saw-cut (about 5mm) separated them. However I was unfortunate in that when I planed one of them it revealed an unsightly, natural blemish so I had to keep planing until it disappeared - perhaps another 10mm - so the perfection of the mirror image diminished, marginally, with every pass over the planer.
You may further note that the panels are each made of two boards joined in the centre and it is the outer and inner boards of each door that are matched: not the two boards within one door.)
When I designed the item, I planned that the doors would be rebated - again in the traditional manner - and my colleague Martin, who got out (made) the frames allowed for this to be done. This involved making the meeting (centre) stiles (upright members) of the door frame 12mm wider to allow for the rebate (half and half overlap).
Clearly, rebated doors determine that one door has to be opened before the other door can be opened. Conventionally it is the right door that is the lead-door (the one that must be opened before the other door can be opened).
But I made a mistake! I installed the panels in one of the frames upside down.
Now, had we not allowed for rebated doors this would have been catastrophic and I would have had to remake a frame, (or both frames, because throughout the project, I paid such close attention to timber (grain) matching.)
But, by eliminating the rebate, I was able to turn the entire door, into which I had placed the panel the wrong way up, upside down, thus restoring the panel match.
Is it a down-grading of the item that it does not now have rebated doors?
That is a matter of opinion.
When I started out designing and making furniture I always rebated all meeting doors, whether in a cabinet, bookcase, wardrobe etc..
But increasingly this met with customer resistance. Many, if not most, users found it annoying that they had to open one door before they could open the other. In other words they found it irksome that they had to open the right hand door when they wanted to access something that they knew to be behind the left hand door.
Now that I have admitted my error, I wonder what my clients think?
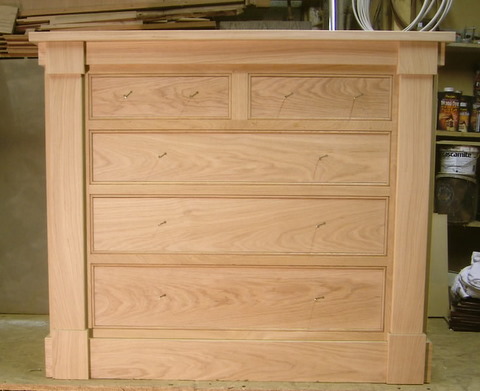
The drawers, now sanded, with screws (which cast some interesting shadows) in the positions for the knobs.
The knobs and shelves................
..............and the doors with the drawers in the background..............

.............and the other components all back from the spray shop.
(I mentioned that the interior of the cupboard and the insides of the drawers were left raw. However, I decided that the shelves should be given a light seal-coat as I was concerned that raw oak might stain white linen, the storage of which I had been told was to be the purpose for the cupboard.)
(And the finish for the exterior of the item is a light seal-coat of 'sanding base coat' cut back (that is, sanded with very, very fine sandpaper, 360 grit, otherwise known as 'flour paper') and my own wax, 'Nunn's Beeswax and Genuine Turpentine Furniture Polish'.)
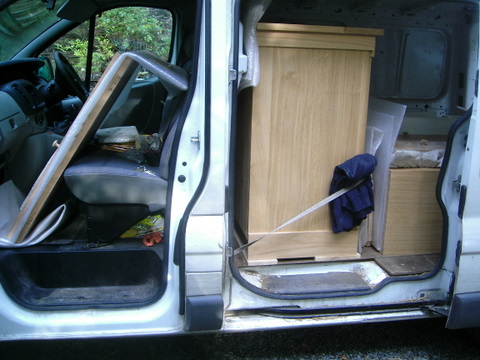
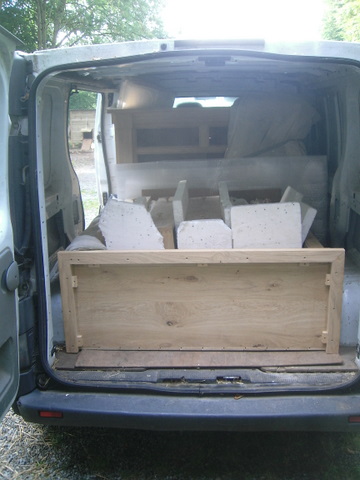
Loaded in readiness for delivery.
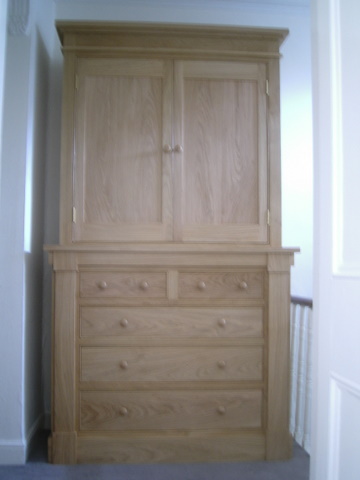
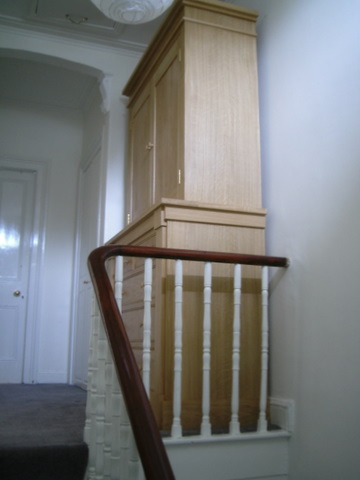
And , finally, 'in situ' in its new home!
(Unfortunately its position is such that it was very difficult for me (with my camera's rather basic lens) to take a decent picture and, also unfortunately, I was working on my own at the end of the manufacturing process and I was not strong enough to erect it in the workshop (and photograph it) before it left me.
So, close on six months after the phone rang with the initial enquiry, The Gentleman's Dressing Cupboard project is complete.
I am very pleased with it and, once the materials issue was resolved (which was time consuming and frustrating) have enjoyed almost every inch of the task.
And my clients graciously expressed their satisfaction, in fulsome terms, also.
There will be a post script to this.
Almost inevitably there will be adjustments to be made once it has acclimatized to its new surroundings: it is in the nature of solid wood furniture, especially in this age of central heating.
Also, when I sought my clients' permission to blog the 'history of their commission' I was asked if, in reciprocation, I would sign the item.
I said I would but I forgot to do so before delivery. But it will be done.
